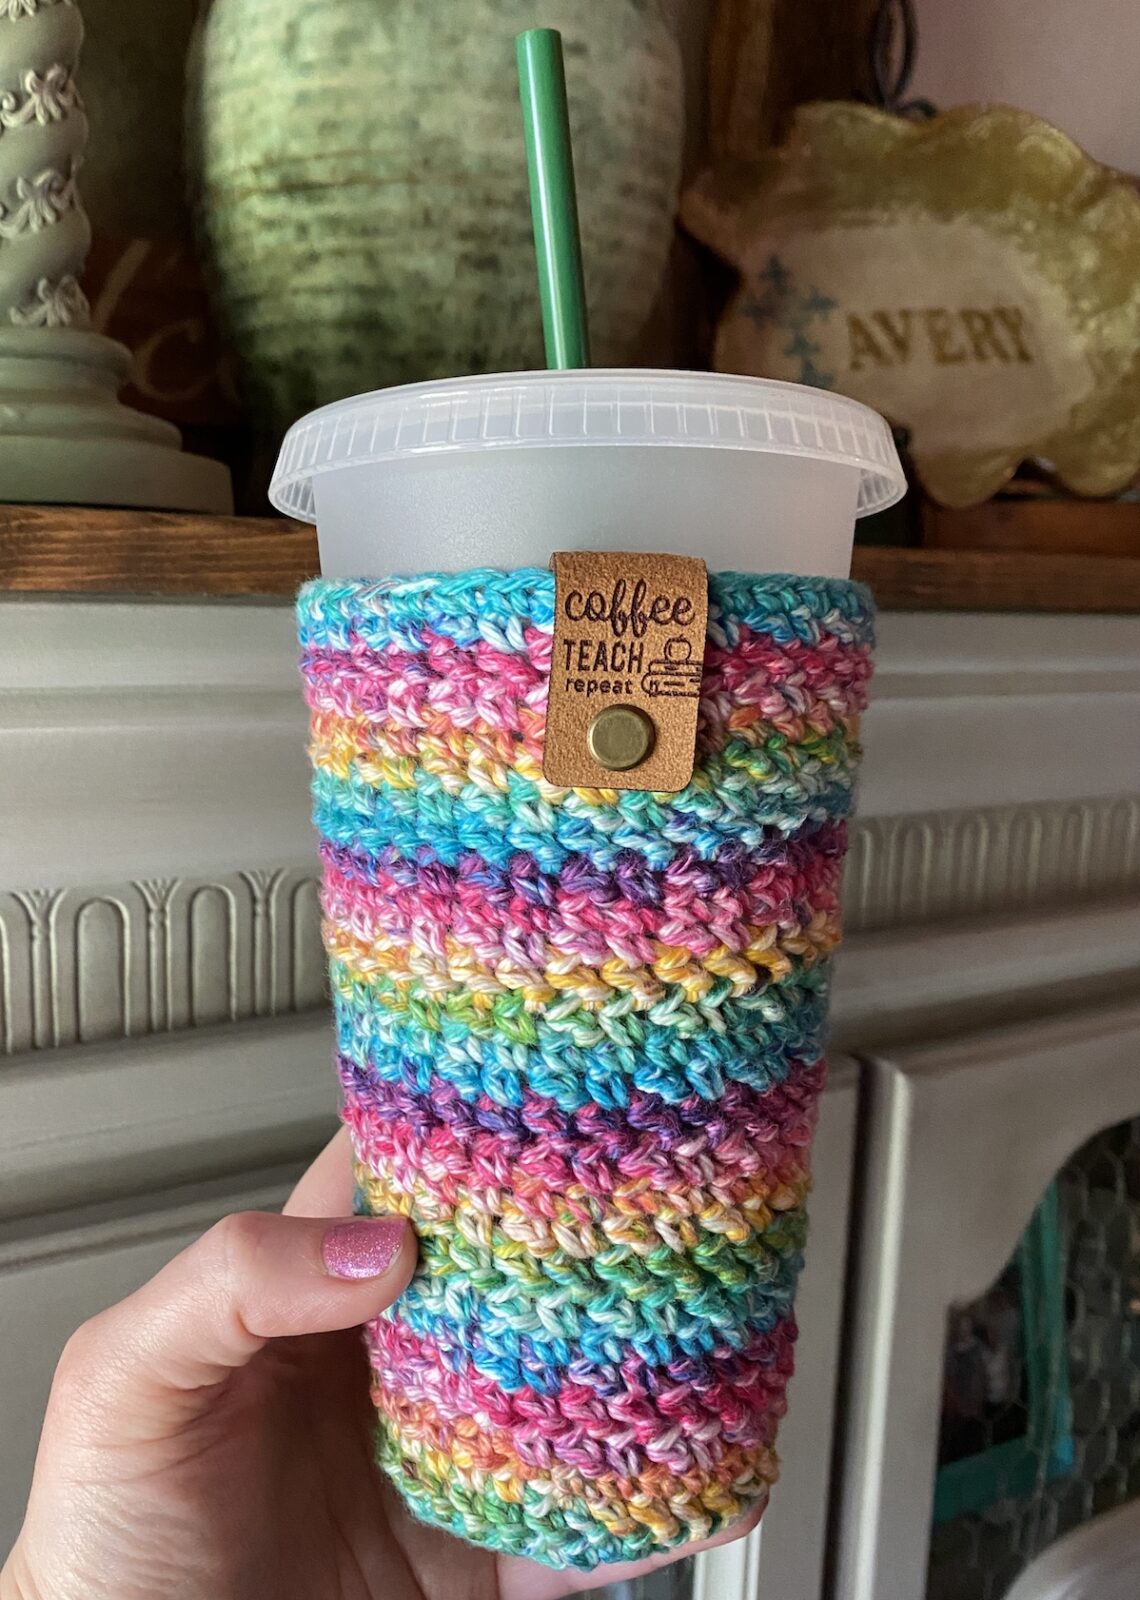
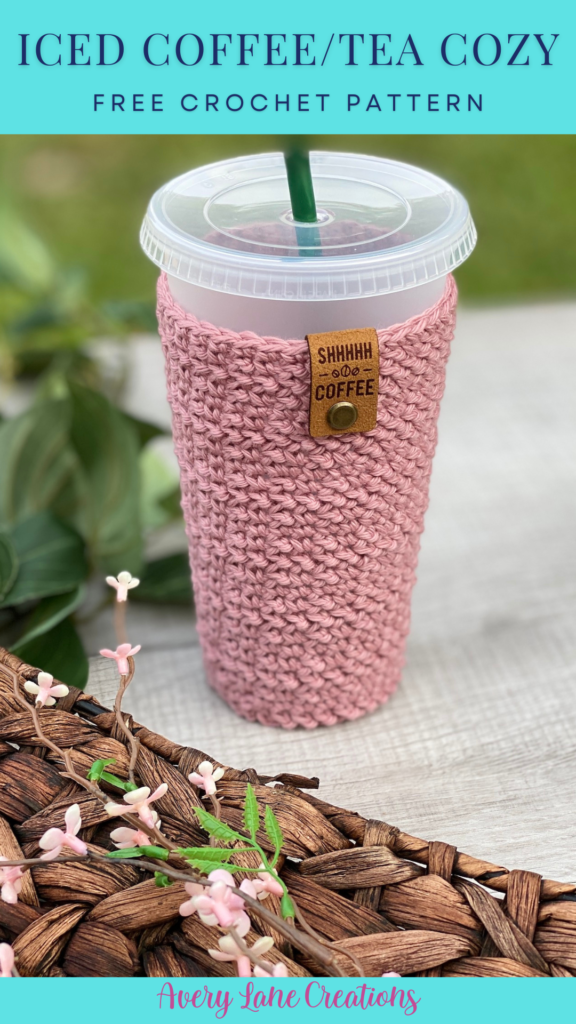
Free Crochet Pattern: Sunshine Iced Coffee/Tea Cup Cozy with hand sleeve
The Sunshine Iced Coffee (or Tea) Cozy is still one of my favorite crochet patterns to binge crochet. I love making them just as much as I love using them. It’s so nice to not have to deal with a cold, wet cup while I’m enjoying my iced drink.
I recently started selling these at a local nutritional tea shop. After making dozens of them, my brain automatically starts looking for ways to change things up so I don’t get bored and I’m glad it did! I had the idea to add a sleeve for your hand to the side of the cozy.
This small addition to the Sunshine Iced Coffee Cozy crochet pattern seems so little but it is a game changer!! I can’t go back to just a regular cozy now. It’s so handy (pun intended)!
Scroll down for the crochet pattern with the new added hand sleeve! Find the free video tutorial on my YouTube channel.
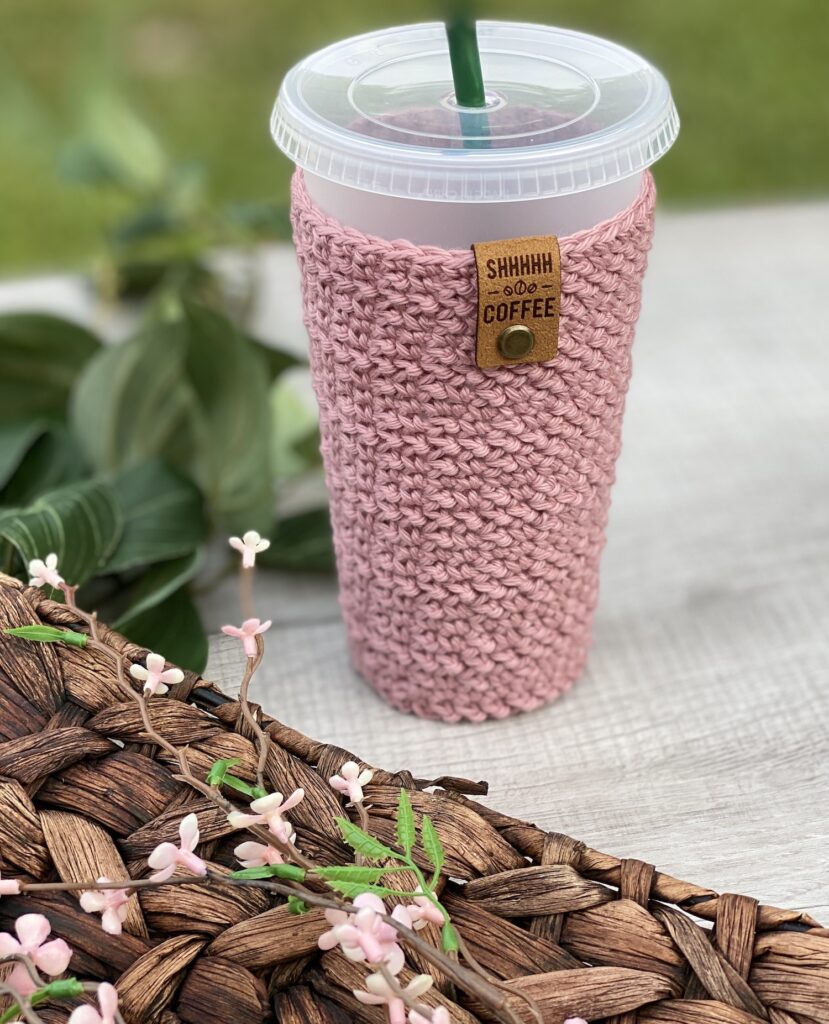
Materials
- H8/5mm Crochet Hook
- 70 yards of cotton yarn (I Love ThisCotton, Dishie, & Peaches &Crème); 75 yards if you are adding the sleeve
- Measuring Tape
- Tapestry Needle
- Scissors
- Stitch Markers
- 24 ounce reusable cup (optional)
Abbreviations
CH: Chain
HHDC: Herringbone Half Double Crochet (see below for instructions)
SC: Single Crochet
SLST: Slip Stitch
ST(S): Stitch(es)
Gauge
8 SC x 9 rows = 2 in x 2 in

Notes
- This pattern uses American Standard Terms.
- I am a very tight crocheter. I highly recommend gauge swatching.
- The iced coffee cup cozy size in this pattern fits a 24 ounce Starbucks cup.
- The cozy will also fit a 20 ounce insulated tumbler. For smaller cups, you may want to do fewer rows depending on how far up you want your cozy to be on your cup.
- My finished cozy measures 7.5 inches long at the center from top to bottom and 4 inches wide at the widest part.
- If you would like to add a sleeve for your hand to the cozy, mark rounds 12 & 27 with a stitch marker so you can easily find where to attach the sleeve.
Special Stitch
Herringbone Half Double Crochet (HHDC): Yarn over, insert your hook into the next stitch, yarn over, pull up a loop, pull that loop through the next loop on your hook (kind of like a slip stitch. This will leave you with two loops on your hook. Yarn over, and pull through both loops.
Pattern
Magic Circle, CH 1
Round 1: HHDC, SC, HHDC, SC, HHDC, SC, SLST to 1st HHDC (6)
Round 2: CH 1, * 2HHDC in next ST, 2SC in next ST, repeat from * to the end of the round, SLST to 1st HHDC (12)
Round 3: CH 1, * 2HHDC in next ST, SC in next ST, repeat from * to the end of the round, SLST to 1st HHDC (18)
Round 4: CH 1, *2HHDC in next ST, SC in next 2 STS, repeat from * to the end of the round, SLST to 1st HHDC (24)
Round 5: CH 1, *2HHDC in next ST, SC in the next 3 STS, repeat from * to the end of the round, SLST to 1st HHDC(30)
Round 6: CH 1, HHDC in each ST in the round, SLST to 1st HHDC (30)
Round 7: CH 1, SC in each ST in the round, SLST to 1st SC (30)
Round 8: CH 1, *HHDC in next ST, SC in next ST, repeat from * to the end of the round, SLST to 1st HHDC (30)
Round 9: CH 1, HHDC in each ST in the round, SLST to 1st HHDC (30)
Round 10: CH 1, *HHDC in next ST, SC in next ST, repeat from * to the end of the round, SLST to 1st HHDC (30)
Round 11: CH 1, SC in each ST in the round, SLST to 1st SC (30)
Round 12: CH 1, *HHDC in next ST, SC in next ST, repeat from * to the end of the round, SLST to 1st HHDC (30)
Round 13: CH 1, HHDC in each ST in the round, SLST to 1st HHDC (30)
Round 14: CH 1, *HHDC in next ST, SC in next ST, repeat from * to the end of the round, SLST to 1st HHDC (30)
Round 15: CH 1, 2SC in next ST, SC in next 14 STS, 2SC in next ST, SC in remaining STS in the round, SLST to 1st SC (32)
Round 16: CH 1, *HHDC in next ST, SC in next ST, repeat from * to the end of the round, SLST to 1st HHDC (32)
Round 17: CH 1, 2HHDC in next ST, HHDC in next 15 STS, 2HHDC in next ST, HHDC in remaining STS in the round, SLST to 1st HHDC (34)
Round 18: CH 1, *HHDC in next ST, SC in next ST, repeat from * to the end of the round, SLST to 1st HHDC (34)
Round 19: CH 1, SC in each ST in the round, SLST to 1st SC (34)
Round 20: CH 1, *HHDC in next ST, SC in next ST, repeat from * to the end of the round, SLST to 1st HHDC (34)
Round 21: CH 1, HHDC in each ST in the round, SLST to 1st HHDC (34)
Round 22: CH 1, *HHDC in next ST, SC in next ST, repeat from * to the end of the round, SLST to 1st HHDC (34)
Round 23: CH 1, 2SC in next ST, SC in next 16 STS, 2SC in next ST, SC in remaining STS in the round, SLST to 1st SC (36)
Round 24: CH 1, *HHDC in next ST, SC in next ST, repeat from * to the end of the round, SLST to 1st HHDC (36)
Round 25: CH 1, HHDC in each ST in the round, SLST to 1st HHDC (36)
Round 26: CH 1, *HHDC in next ST, SC in next ST, repeat from * to the end of the round, SLST to 1st HHDC (36)
Round 27: CH 1, SC in each ST in the round, SLST to 1st SC (36)
Round 28: CH 1, *HHDC in next ST, SC in next ST, repeat from * to the end of the round, SLST to 1st HHDC (36)
Round 29: CH 1, HHDC in each ST in the round, SLST to 1st HHDC (36)
Round 30: CH 1, *HHDC in next ST, SC in next ST, repeat from * to the end of the round, SLST to 1st HHDC (36)
Round 31: CH 1, SC in each ST in the round, SLST to 1st SC (36)
Fasten off and weave in ends.
Add a sleeve to your cozy…
FSC 14 (this measures about 4 inches for me) be sure to leave a 6-8 inch tail when making your slip knot
Row 2: CH 1, turn,*HHDC in 1st ST, SC in next ST, repeat from * to finish row
Row 3: CH 1, turn, SC in each ST in row Fasten off. Leaving a 6 to 8 inch tail.
To attach your sleeve to cozy:
1. Mark rounds 12 & 27 on your cozy with stitch markers.
2. Using your yarn tail, attach the bottom of the sleeve to round 12 of your cozy. Be sure the textured part of the HHDC is facing out. Sew bottom of sleeve to round 12 being careful not to pick up the other side of the cozy.
3. Sew back across the bottom of your sleeve attaching it to round 13 of the cozy. Wait to weave in ends until you attach the top portion and try it on.
4. Using your yarn tail, attach the top of the sleeve to round 27 of your cozy.
5. Sew back across the top of your sleeve attaching it to round 26 of the cozy. Wait to weave in ends until you try it on.
6. Once you try it on and it fits your hand nicely, weave in ends on the inside of your cozy.
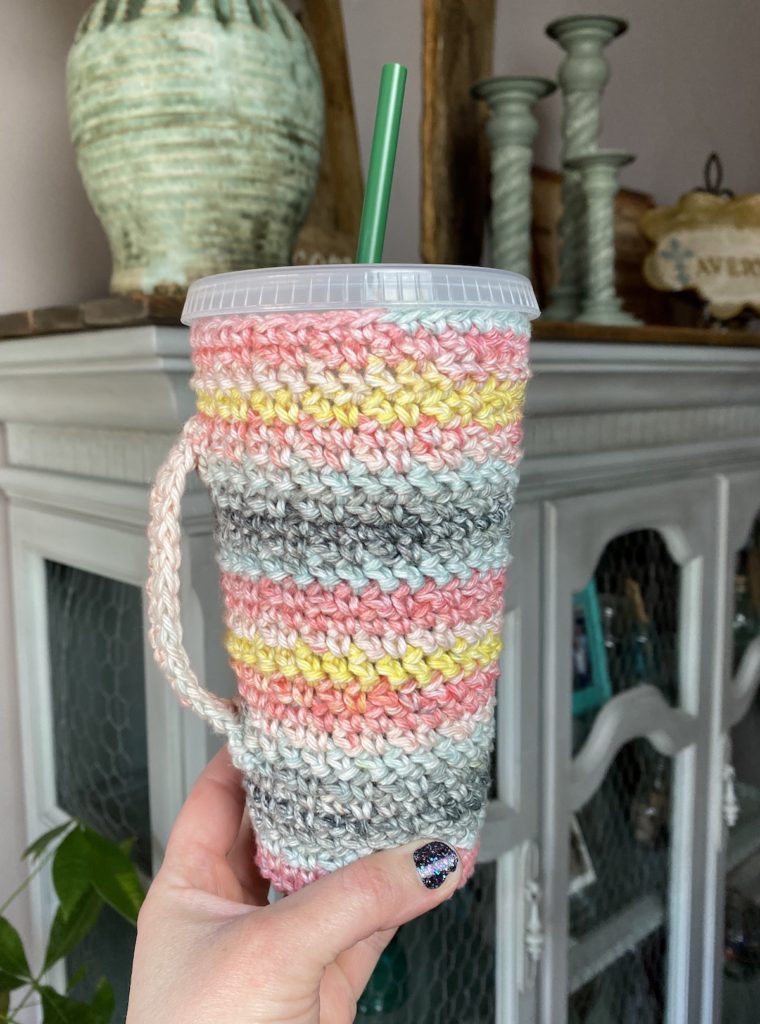
There you have it! A simple addition to the cozy that is fun and sure to be a big hit.
You can find the original Sunshine Iced Coffee/Tea Cozy blog post here. Check out the full video tutorial on my YouTube channel.
I would love to see your cozies! Tag me on social media and use the hashtags #alcpatterns #averylanecreations You can find me on Instagram and Facebook.
Check out my Yarn Everywhere YouTube Podcast and join in the yarn adventure! Hang out with me as I share crochet and knitting projects plus yarn that’s hand dyed by me! Find the playlist here.
Happy Crocheting!!!
Update August 4, 2022
Watch the step by step video tutorial for the Sunshine Coffee or Tea Cozy crochet pattern on my YouTube channel!
Enjoy!


You May Also Like
Free Crochet Patterns: Face Scrubbers and How to Crochet the Magic Circle (II)
March 7, 2019
Rhys Brimless Beanie Free Crochet Pattern
September 10, 2021


4 Comments
Pingback:
Pingback:
Jess
Hi! I love this pattern and the color. I ran out and bought the same and made one…it isn’t perfect, but it’s good enough for me! Can I please ask where you get your cute stitch markers? I dislike mine. Thank you so much for sharing this pattern and bringing back my motivation to keep learning how to crochet!!!
Nicky Avery
Hey Jess! I’m so glad to hear that you enjoy the pattern. I love getting stitch markers from https://www.etsy.com/shop/ThreeByTheSeaDesigns orhttps://www.etsy.com/shop/SHEinspired I used to get the majority of mine from The Hooking Reader but she has closed her shop.