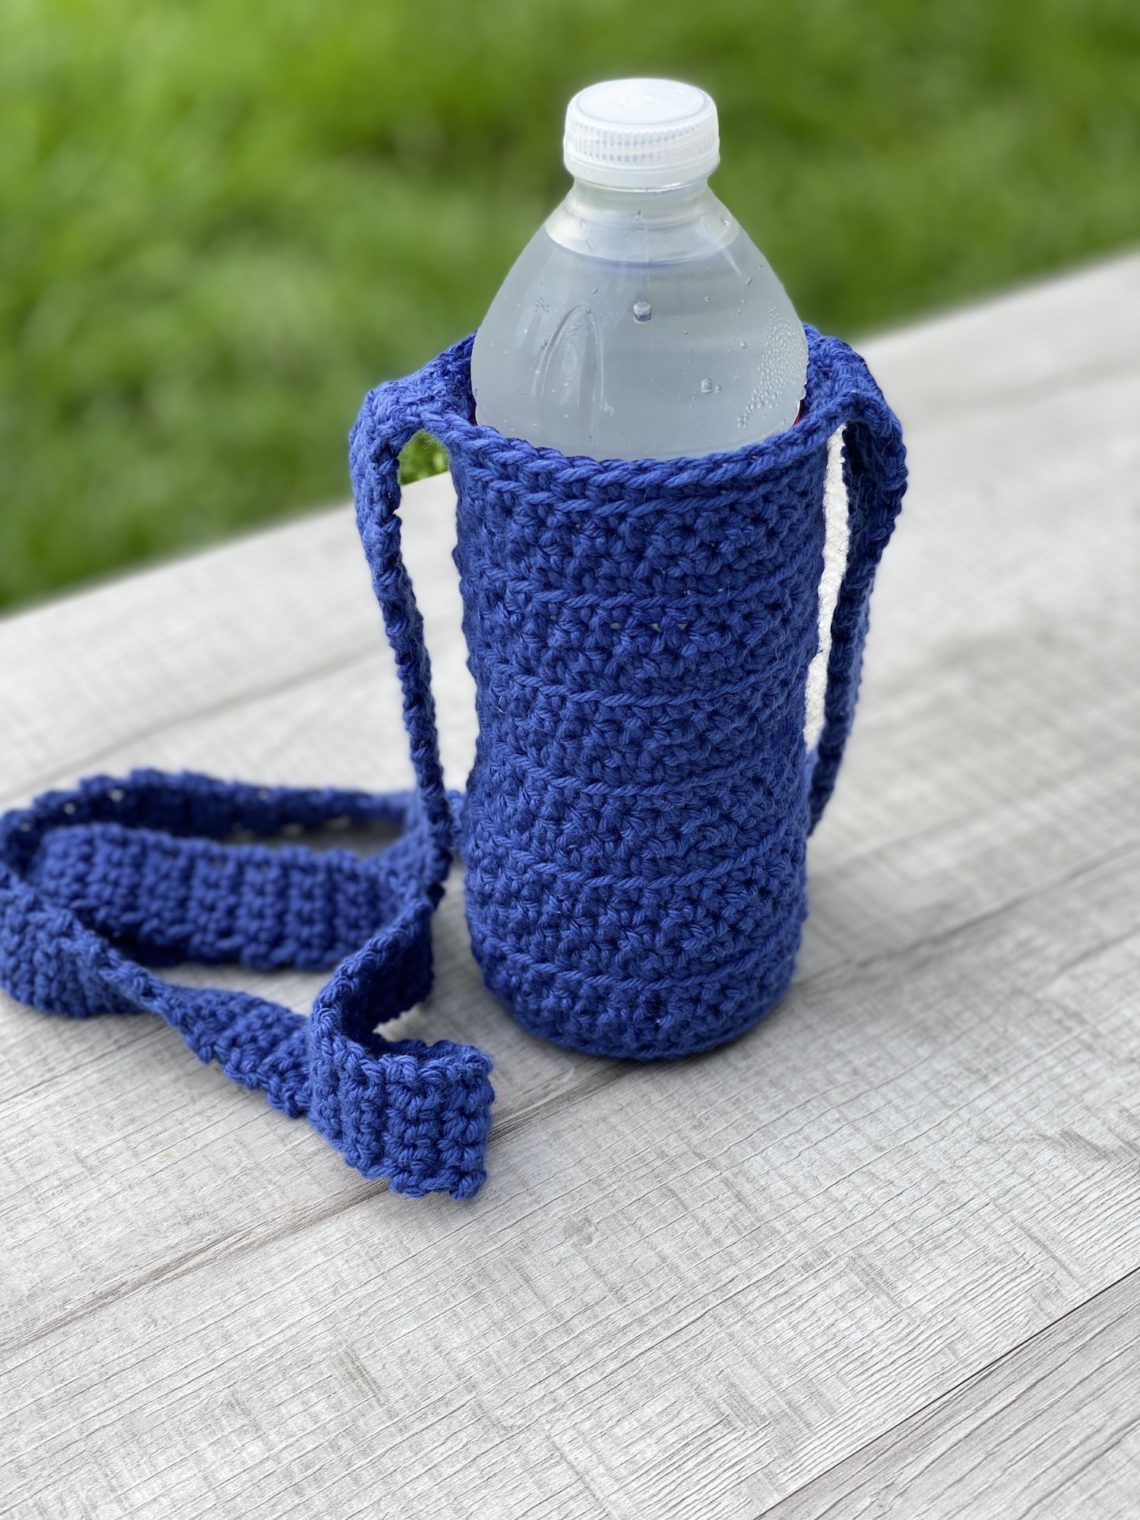
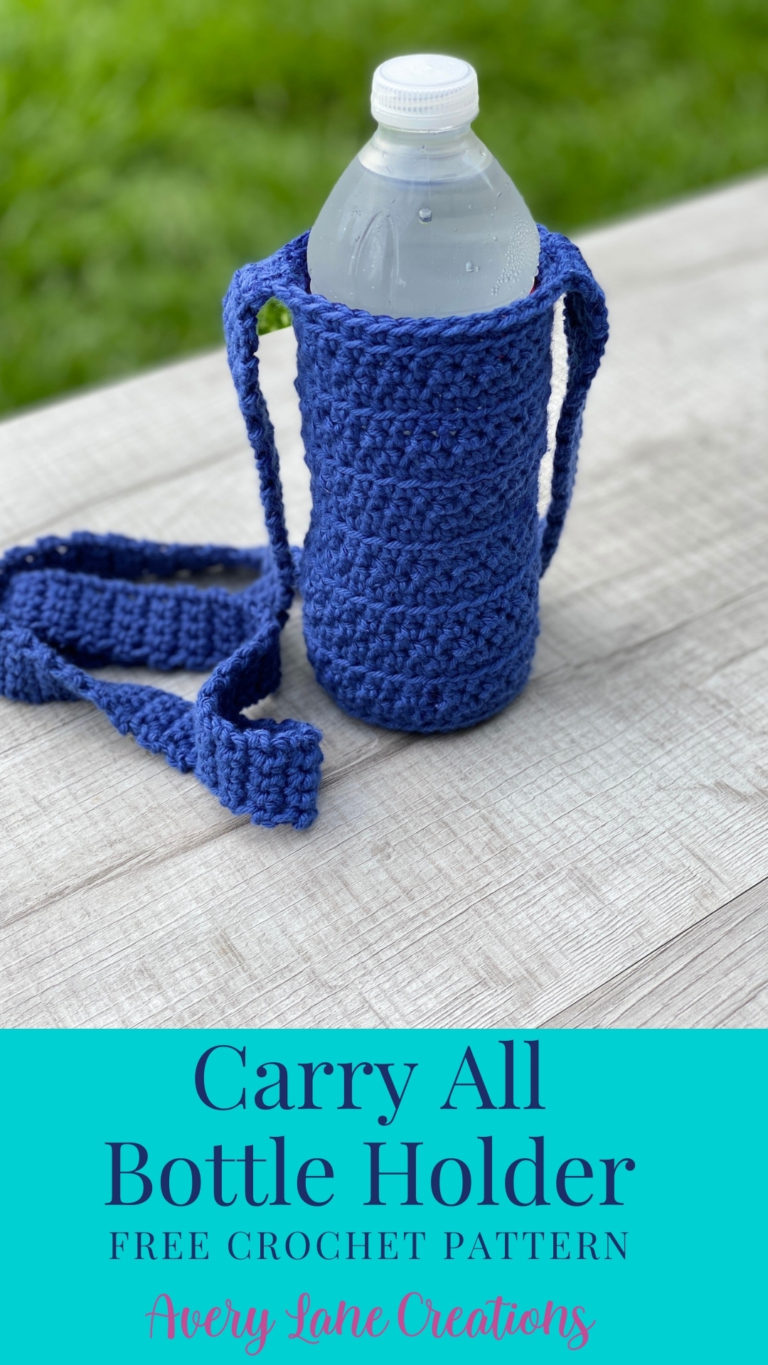
Free Crochet Pattern: Carry All Bottle Holder
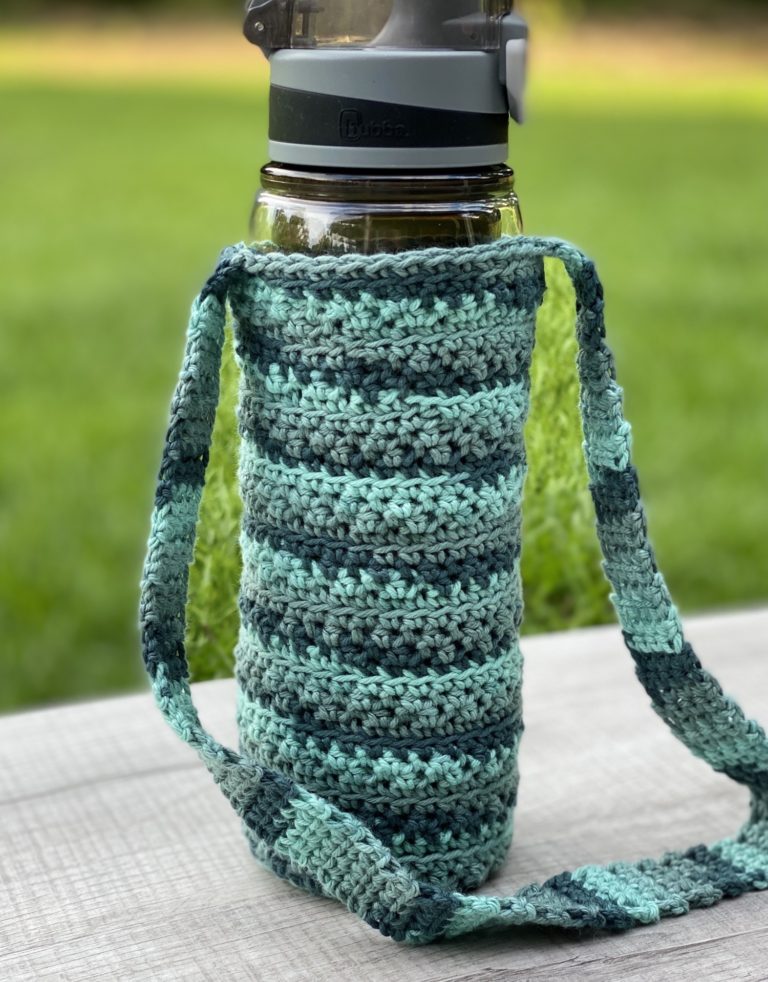
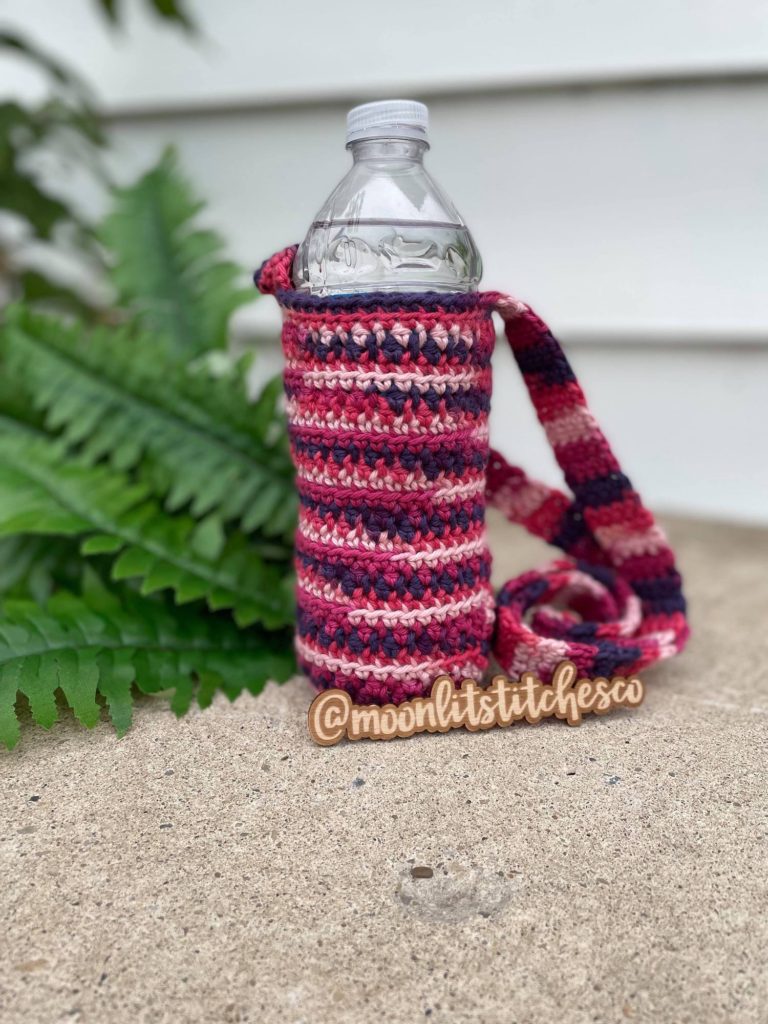
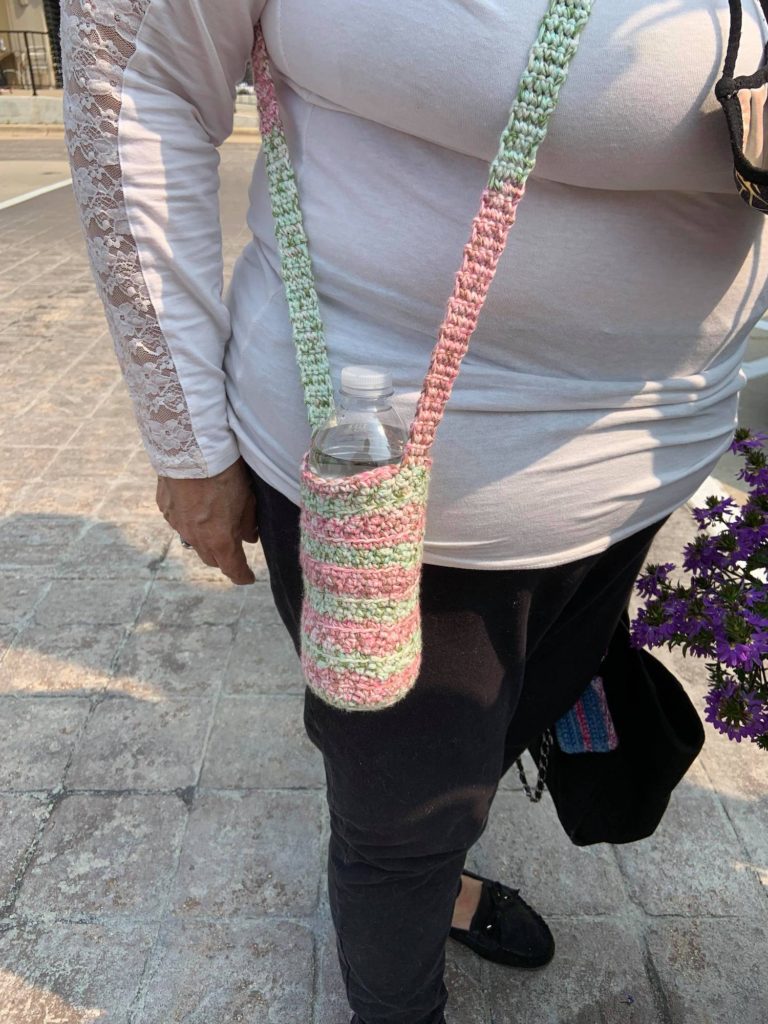
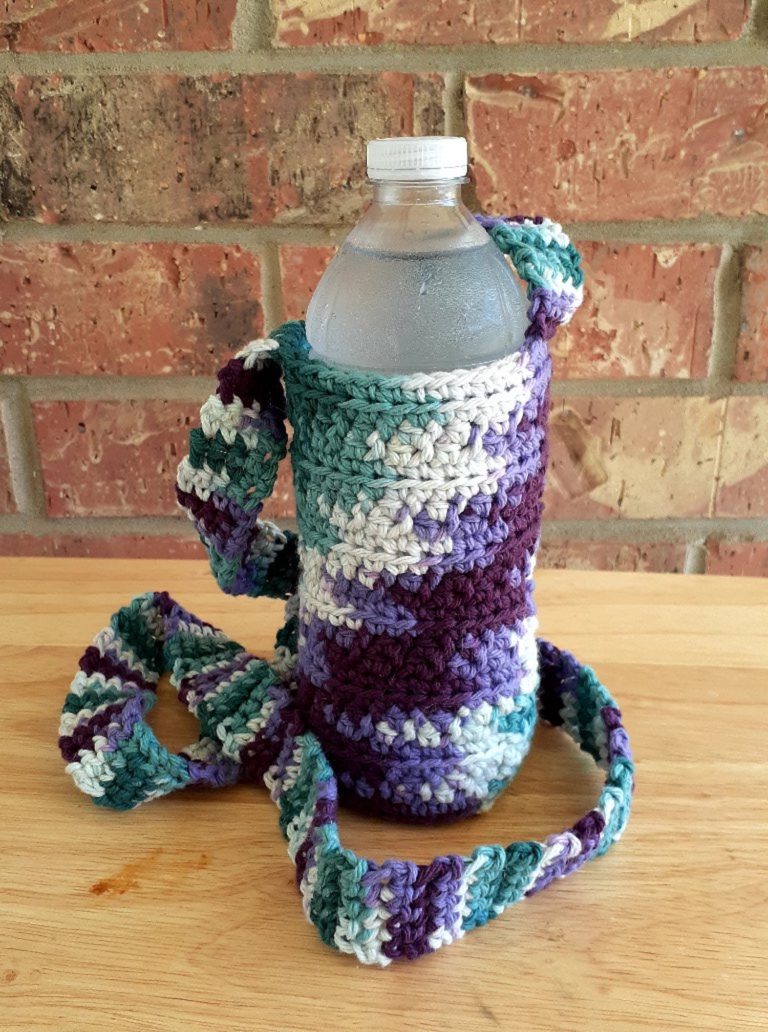
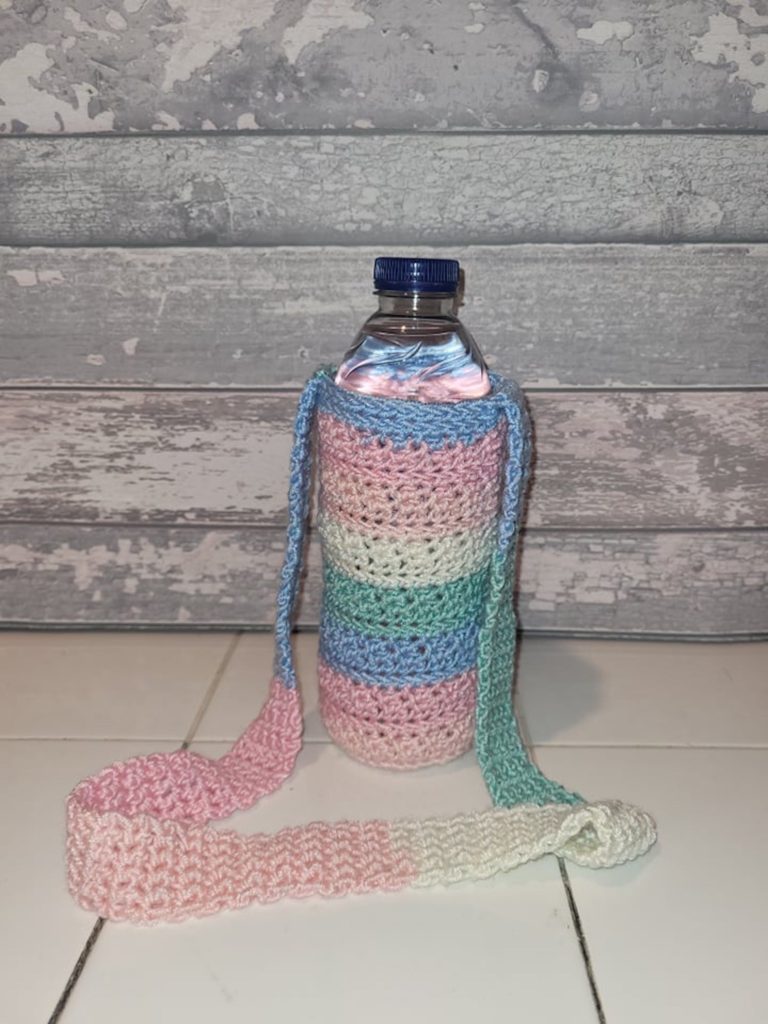
This week, I am sharing a free crochet pattern for the Carry All Bottle Holder. I originally made one of these for my Mom when I was visiting her. She lives in Arizona and loves to take her dog for a walk in the mornings. If you are familiar with Arizona, you know that you want to have water with you all the time. I loved going on walks with them and I noticed that Mom had her hands full with her phone, water bottle and the dog leash. I thought it would be great to whip up a bottle holder for her so she wouldn’t have to juggle so much.
My Mom has really enjoy her bottle holder so I am sure this will become a tradition when I am visiting. She will get an updated bottle holder. Her dog even gets super excited when she sees it because she knows she is about to go for a walk.
I have started clipping my house key to the strap of my bottle holder whenever I go for walks. It is so nice to not have to worry about dropping my key somewhere.
I like to use cotton yarn for mine because it is durable, lightweight, and dries really fast. These bottle holders work up quickly and would make great gifts. You will find the free crochet pattern below.
Materials
- H/5mm crochet hook
- 130-155 yards of Cotton worsted (4) weight – I used Dishie by WeCrochet
- Measuring Tape
- Tapestry Needle
- Scissors
- Stitch Markers
Abbreviations
CH: Chain
HDC: Half Double Crochet
MR: Magic Ring
SC: Single Crochet
SCBLO: Single Crochet Back Loop Only
SK: Skip
SLST: Slip Stitch
ST(S): Stitch(es)
Gauge
8 HDC x 6 Rows = 2″ x 2″
Notes
- This pattern uses American Standard Terms.
- The chains at the beginning of each row do not count as a stitch.
- I am a tight crocheter so be sure to use measurements or gauge swatch.
- For the HDC rounds, I recommend using a stitch marker to mark the first stitch in the round. The slip stitches can throw you off at the end of the round.
- You can adjust this pattern to fit any size water bottle by measuring the diameter of the bottom of your water bottle and working the increase rounds until you reach the diameter or just over it. For example, the bottom of my 16.9 oz water bottle is 2 inches in diameter and I increased until my diameter was 2.25 inches (Round 6 in the pattern).
Pattern
MR, CH 1
Round 1: 6 SC in MR, SLST to 1st SC, CH 1 (6)
Round 2: 2SC in each ST in round, SLST to 1st SC, CH 1 (12)
Round 3: 2SC in 1st ST, SC in next ST, *2SC in next ST, SC in next ST, repeat from * to finish round, SLST to 1st SC, CH 1 (18)
Round 4: 2SC in 1st ST, SC in next 2 STS, *2SC in next ST, SC in next 2 STS, repeat from * to finish round, SLST to 1st SC, CH 1 (24)
Round 5: 2SC in 1st ST, SC in next 3 STS, *2SC in next ST, SC in next 3 STS, repeat from * to finish round, SLST to 1st SC, CH 1 (30)
Round 6: 2 SC in 1st ST, SC in next 4 STS, *2SC in next ST, SC in next 4 STS, repeat from * to finish round, SLST to 1st SC, CH 1 (36)
Round 7: SCBLO in each ST in round, SLST to 1st SC, CH1 (36)
Round 8: HDC in 1st ST, SLST in next ST, *HDC in next ST, SLST in next ST, repeat from * to finish round, SLST to 1st HDC, CH 1 (36)
Round 9: Repeat Round 8
Round 10: SC in each ST in round, SLST to 1st SC, CH 1 (36)
Keep repeating Rounds 7, 8, 9, and 10 until you reach your desired height. End on a Round 7 repeat. Do not fasten off.
For a:
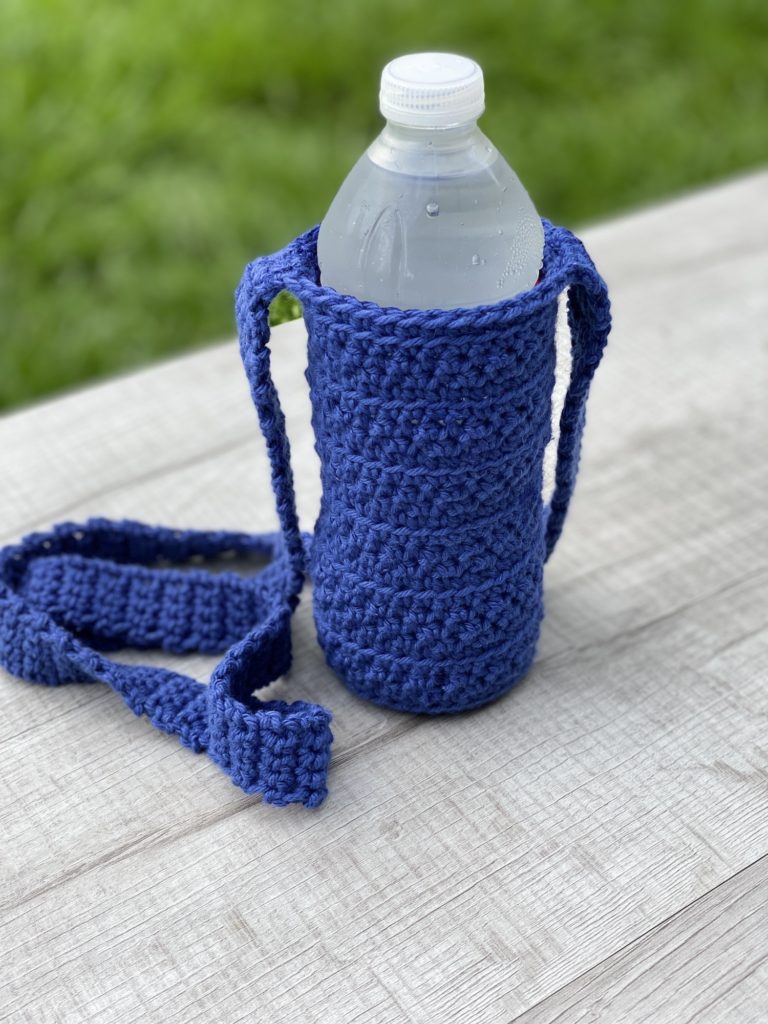
- 16.9 oz water bottle size, I made 31 rounds to obtain a height of 7 inches
- 24 oz reusable water bottle (Bubba brand from Walmart), I made 39 rounds to obtain a height of 9 inches
After you reach your desired height, you will start your strap. Do NOT fasten off.
Strap:
The weight of a full water bottle will cause the strap to stretch. You may want to make your strap longer instead of shorter when you are making them for someone besides yourself. With a longer strap, you have the option to adjust the strap by tying a knot. This will make it adjustable for others to enjoy.
When making them for myself, this is how I size my strap: I use a measuring tape and measure across my body where I want the strap to lie, then make my strap that length. For the bigger water bottles, you may want to make the strap wider.
*CH 1, SC in next 4 STS, turn (4) Repeat from * until you reach your desired length. Fasten off, leaving a long tail to whip stitch strap to the opposite side from where you started the strap.
buy now” rel=”attachment wp-att-5579″>
Thank you to all of my amazing pattern testers!!
Happy Crocheting!

You May Also Like
My Favorite Free Crochet Baby Patterns
May 17, 2019
How to Calculate Yarn Yardage
August 22, 2019
8 Comments
Camille
This is lovely! I’ve never made a magic ring bit I think I can do this 😏 Thank you!
Pingback:
Robyn Mozeika
Thanks for sharing this pattern! It works up quickly! I do have one quick question…
Your instructions say “End on a Round 7 repeat” …. does that mean I crochet row 7 twice in a row?
Thanks!
Nicky
Hey! I’m so sorry that I’m just now seeing your comment. You just work Round 7 once. I like to end on a SCBLO round so it has a nice clean edge.
Robyn Mozeika
Love this! Thanks for sharing!
Can you clarify one thing for me….before making the strap, do I crochet round 7 once or twice? Your instructions say “end on a round 7 repeat” (sorry….new to crocheting!)
Pingback:
Jess
Sorry, me again! Two questions… One is, is there another brand of yarn you suggest for this project? I can’t find the “wecrochet dishie” anywhere near me. Is any cotton yarn ok? Also, do you have a video tutorial of this pattern? Thank you so much!
Nicky Avery
Hey! My favorite cotton brands are I Love This Cotton from Hobby Lobby or WeCrochet (Knit Picks) Dishie cotton but you can use any worsted weight cotton yarn. I don’t have a video tutorial for this pattern but it’s on my list to make one. Feel free to reach out if you need any help nicky@averylanecreations.com or reach out to me on Instagram http://www.instagram.com/averylanecreations