The Lina Beanie
I’ve been using my pattern for months now. I’ve made several beanies ranging from newborn to adult sizes in different colors. Having made so many, I have discovered what bulky yarn brands work well for this pattern. My favorites are Lion Brand Hometown USA, Yarn Bee Dream Spun and Lion Brand Wool-Ease Thick & Quick.
[the_ad id=”1139″]
So, I finally decided to write my pattern and I’m so happy to be able to share this with you below. I hope you will enjoy this pattern as much as I do. It’s a great pattern to have!
If you would prefer to have a printed PDF version, you can purchase the pattern here. I also have a free video tutorial that you can watch, showing you how to make the lina beanie from beginning to end!
Lina Beanie Pattern (Advanced Beginner)
Materials needed:
Bulky size 5 yarn
(e.g. Yarn Bee Dream Spun; Lion Wool Ease; Lion Brand Hometown USA)
Pom Pom
N/10mm crochet hook
Tapestry needle
Scissors
Stitch markers (e.g. safety pins)
[the_ad id=”2420″]
Abbreviations:
CH – chain
SC – single crochet
DC – double crochet
ST – stitch
SLST – slip stitch
FLO – front loop only
BLO – back loop only
SC2Tog – single crochet 2 together (SC decrease)
Pattern Notes: Using a sizing chart or head measurements, you can adjust the pattern to fit any size you want:
– for the brim: continue your Rows until you reach the desired length.
– for the hat: continue alternating Rounds until you reach about ½ to 1 inch from the desired height then start the decreasing Rounds.
BRIM
Slip knot and CH 5.
Row 1 – SC in second CH from hook, SC in each remaining CH, CH 1, turn (4)
Row 2 – SC in BLO in first ST in row, SC in BLO in each remaining ST, CH 1, turn (4)
Row 3 – Repeat Row 2 until you reach your desired length. 37 rows (+-16 inches) for size 12-18 months.
You will want your last row to end on the same side as the slip knot.
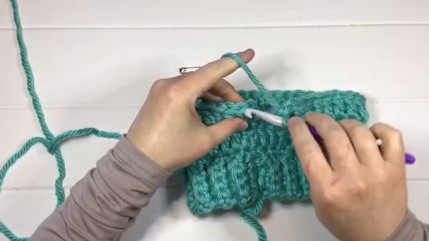
Fold the brim in half so that your slip knot and last row (wrong side out) will be on your right, where you will start your seam. SLST in the FLO of the last row and the CH edge of first row (4 SLST).
Flip the seam right side out and turn 90° so you can work on the top edge of brim.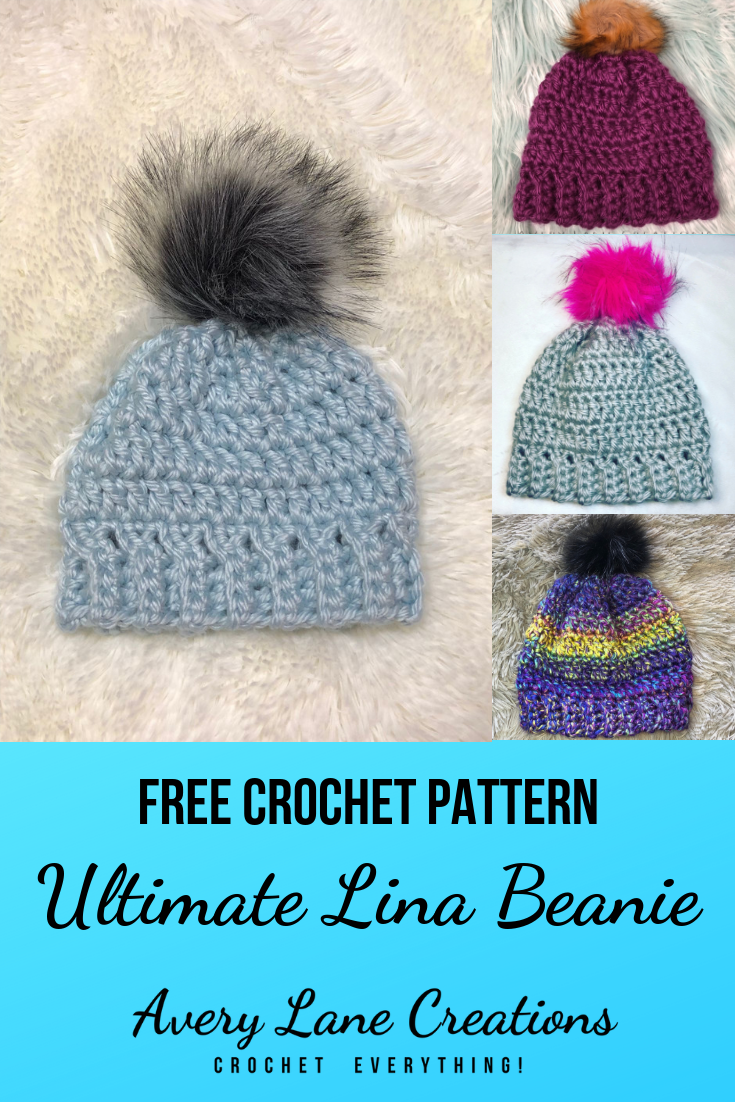
HAT
Round 1 – CH 1, SC around the top of the brim by placing one SC in each row of brim. Join to first SC with a SLST (36)
Round 2 – CH 2, DC in same ST as CH 2, DC in each remaining ST, SLST to first DC (36)
Round 3 – CH 1, SC in same ST as CH 1, SC in each remaining ST, SLST to first SC (36)
Round 4 – CH 2, DC in same ST as CH 2, DC in each remaining ST, SLST to first DC (36)
Round 5 – CH 1, SC in same ST as CH 1, SC in each remaining ST, SLST to first SC (36)
Round 6 – CH 2, DC in same ST as CH 2, DC in each remaining ST, SLST to first DC (36)
Round 7 – CH 1, SC in same ST as CH 1, SC in each remaining ST, SLST to first SC (36)
Round 8 – CH 2, DC in same ST as CH 2, DC in each remaining ST, SLST to first DC (36)
Round 9 – CH 1, SC in same ST as CH 1, SC in next ST, SC2Tog in next ST, *SC in next ST, SC in next ST, SC2Tog*. Repeat from *to* around, SLST to first SC
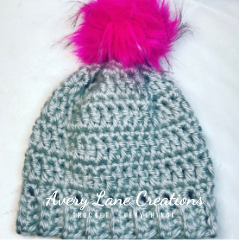 Lina Beanie
Round 10 – CH 1, SC in same ST as CH 1, *SC in next ST, SC2Tog*. Repeat from *to*.
Finish off leaving a long tail.
Closing Hat:
Using your tapestry needle, weave the tail in and out through the stitches at the top of the beanie. Pull tight to close. Weave in the ends.
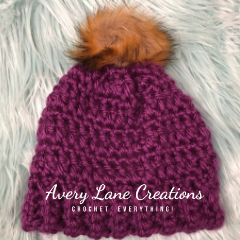 Lina Beanie
AFFILIATED LINKS DISCLOSURE
The post includes affiliated links which means I earn a small commission if you make a purchase using one of my links, at no extra cost to you. Thank you for your support.
DISCLAIMER
You may make and sell products from my patterns but I ask you to link back to my blog post to provide credit for the pattern.
Please do not sell my patterns as your own.
Please do not change the working or alter my pattern in anyway and claim as your own.
Please feel free to share my patterns on social media as long as you provide credit to me for the pattern with a link to my blog post.
Do not re-publish photos as your own.

You May Also Like
Sunshine Dishcloth : FREE Crochet Pattern
July 13, 2019
How to Foundation Stitch
February 21, 2019
2 Comments
Chandra E Flynn
Love this pattern! I really like the brim☺
ANGELA PRICE
Thanks fr all the great tips, tricks and patterns!